Explore everything you can create with our Zapworks tools.
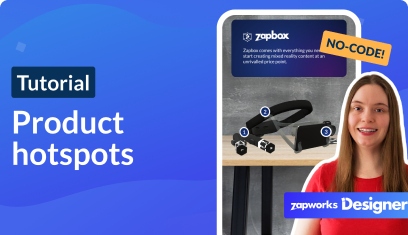
Follow along with our detailed step-by-step video tutorials.
Dive into our latest talks on how to leverage the power of XR and Zapworks.