Hi ZapWorks Community,
Our next step-by-step tutorial will show you how you can import text into your studio experience, as well as provide a run down of the different properties that you can edit to customise your text  .
.
Importing Text
- Select on the plus (+) icon at the top of the Media Library, hover over Fonts, and select the font you wish to add.
If you’d like to use a font that isn’t pre-defined by Studio, you can import it into your experience by dragging it into the Media Library. Please note, this must be a TTF font.
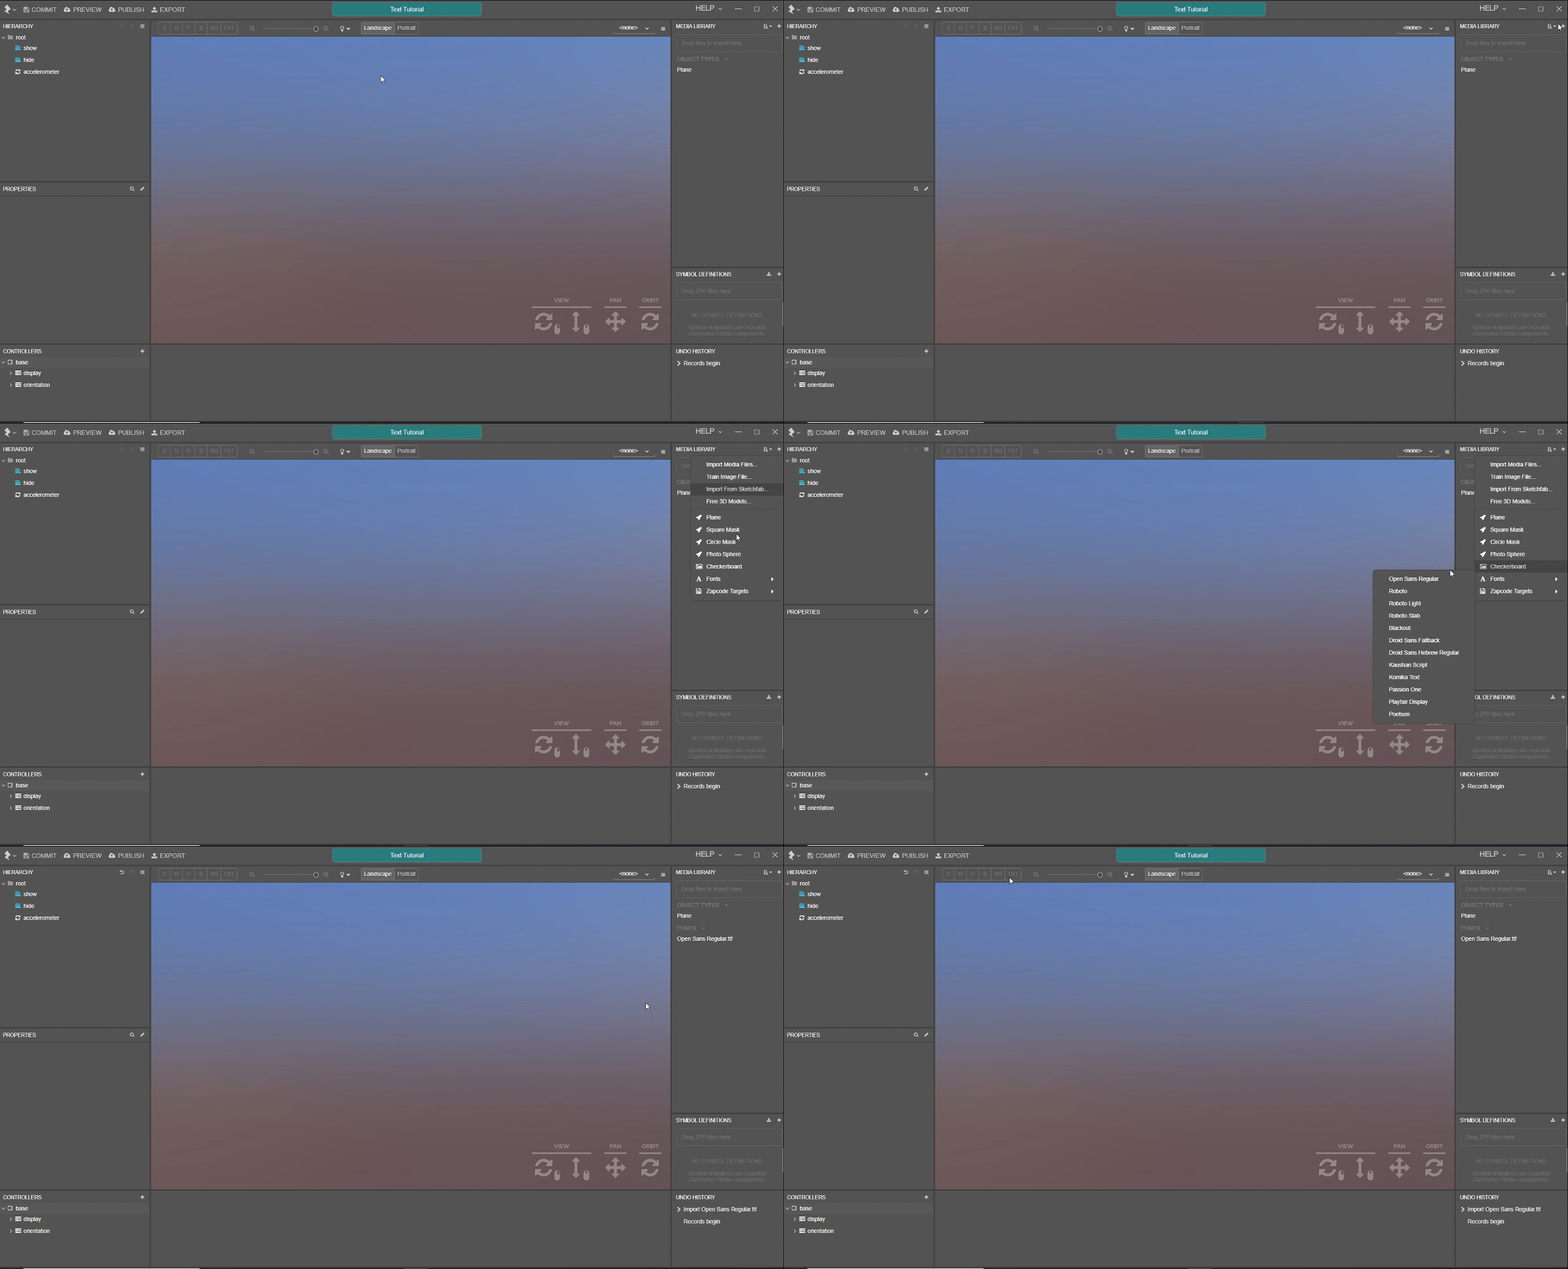
- Drag the imported font into the hierarchy. You may want to resize your text with the scale transform tool.

Text Properties
We will now run through the different text properties, and how each one of them affects your text.
Text - Edits the text that is visible

Font - Choose which font the text appears as. If you want to add more fonts, simply drag them into your Hierarchy from the Media Library.
Layout - Changes how your text appears in the text box. By default, it is set to fit, but can also be set as stretch (fills the whole box) and wrap (text is displayed with word wrapping).

Lines - Specifies the number of lines of text that can be displayed in the bounding box when the layout type is wrap.
Line Scale - Changes the size of each line of text.
Line Spacing - Changes the amount of spacing between the lines.

H Align & V Align - The horizontal and vertical alignment of the text within the bounding box.

Text Colour - Change the colour and gradient of your text. By default, the text colour is set to white.
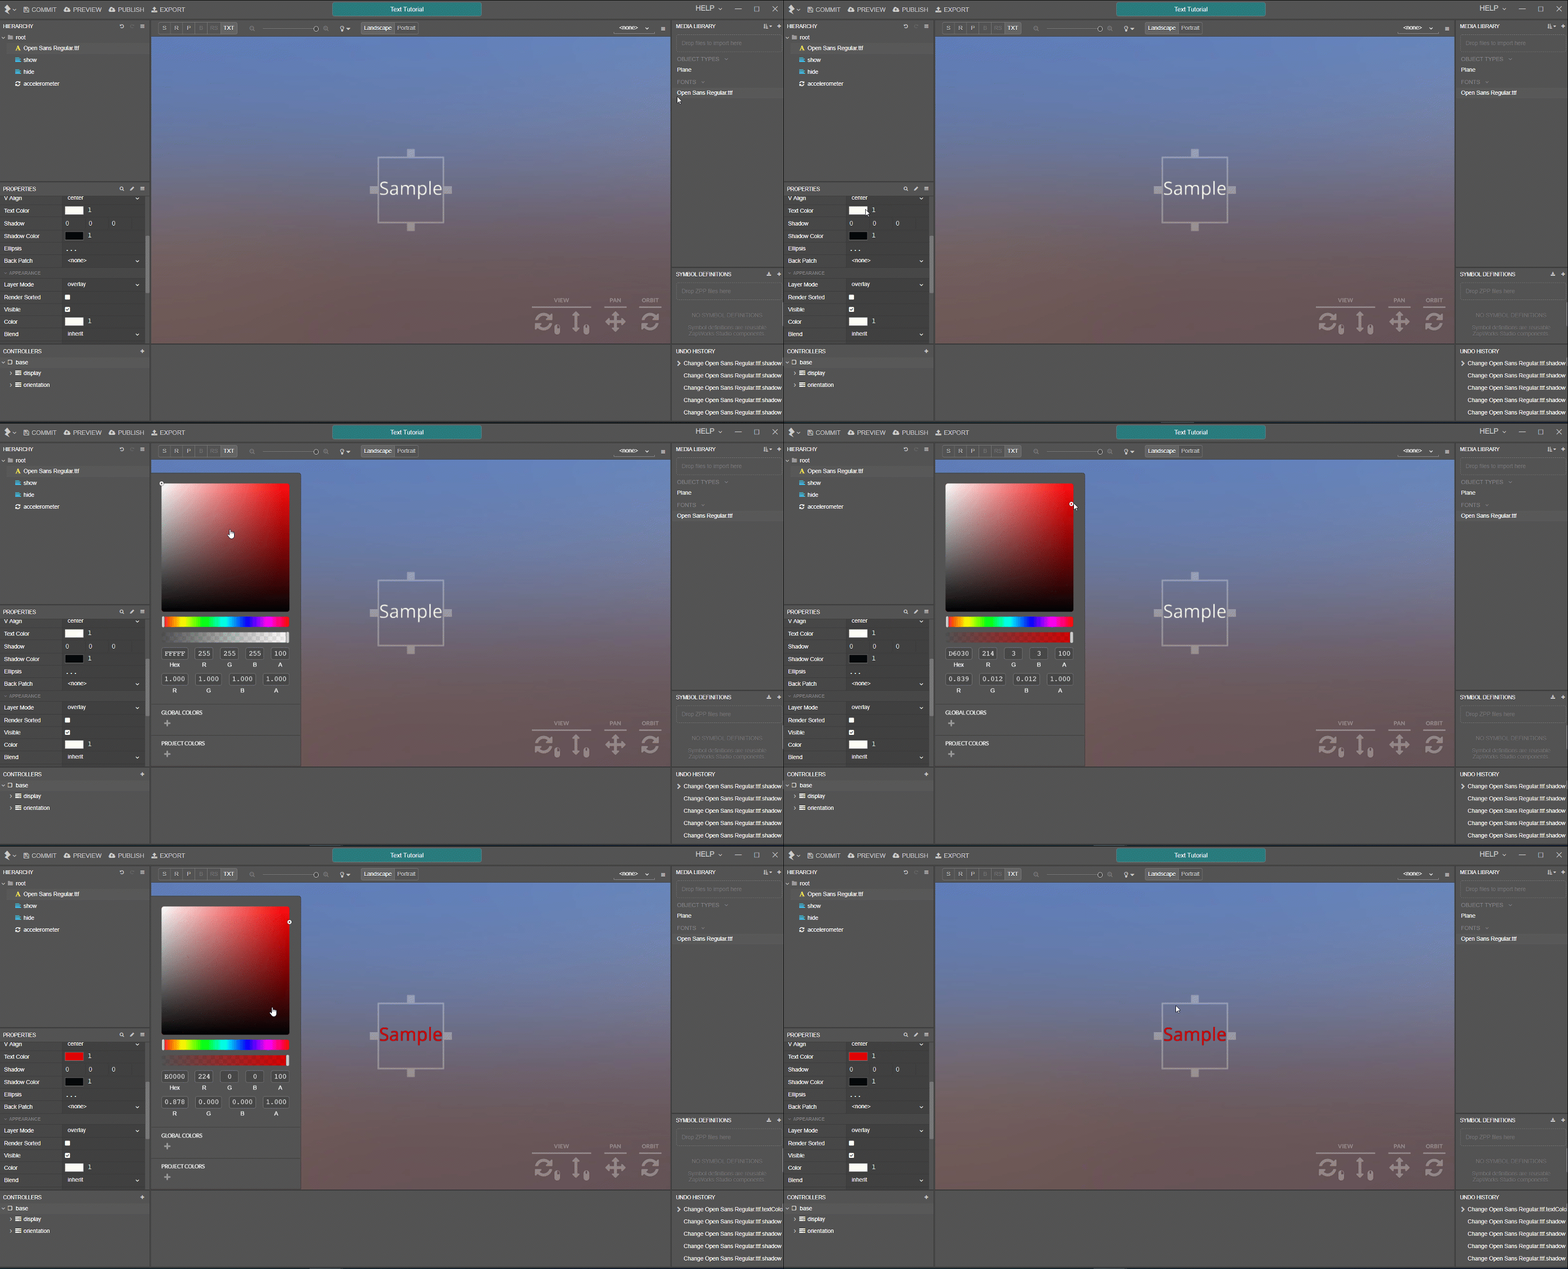
Text Shadow - Add a shadow to your text. The shadow is defined by its x, y, z co-ordinates, and is relative to the position of the text (0, 0, 0). The colour of the shadow can be edited with the Shadow Colour property.

Adding Special Characters
If you have any extra, special characters you wish to use in your text that aren’t included in the font, then you can add these to your font through the Media Library.
This method is great for languages that don’t use the English/Latin alphabet.
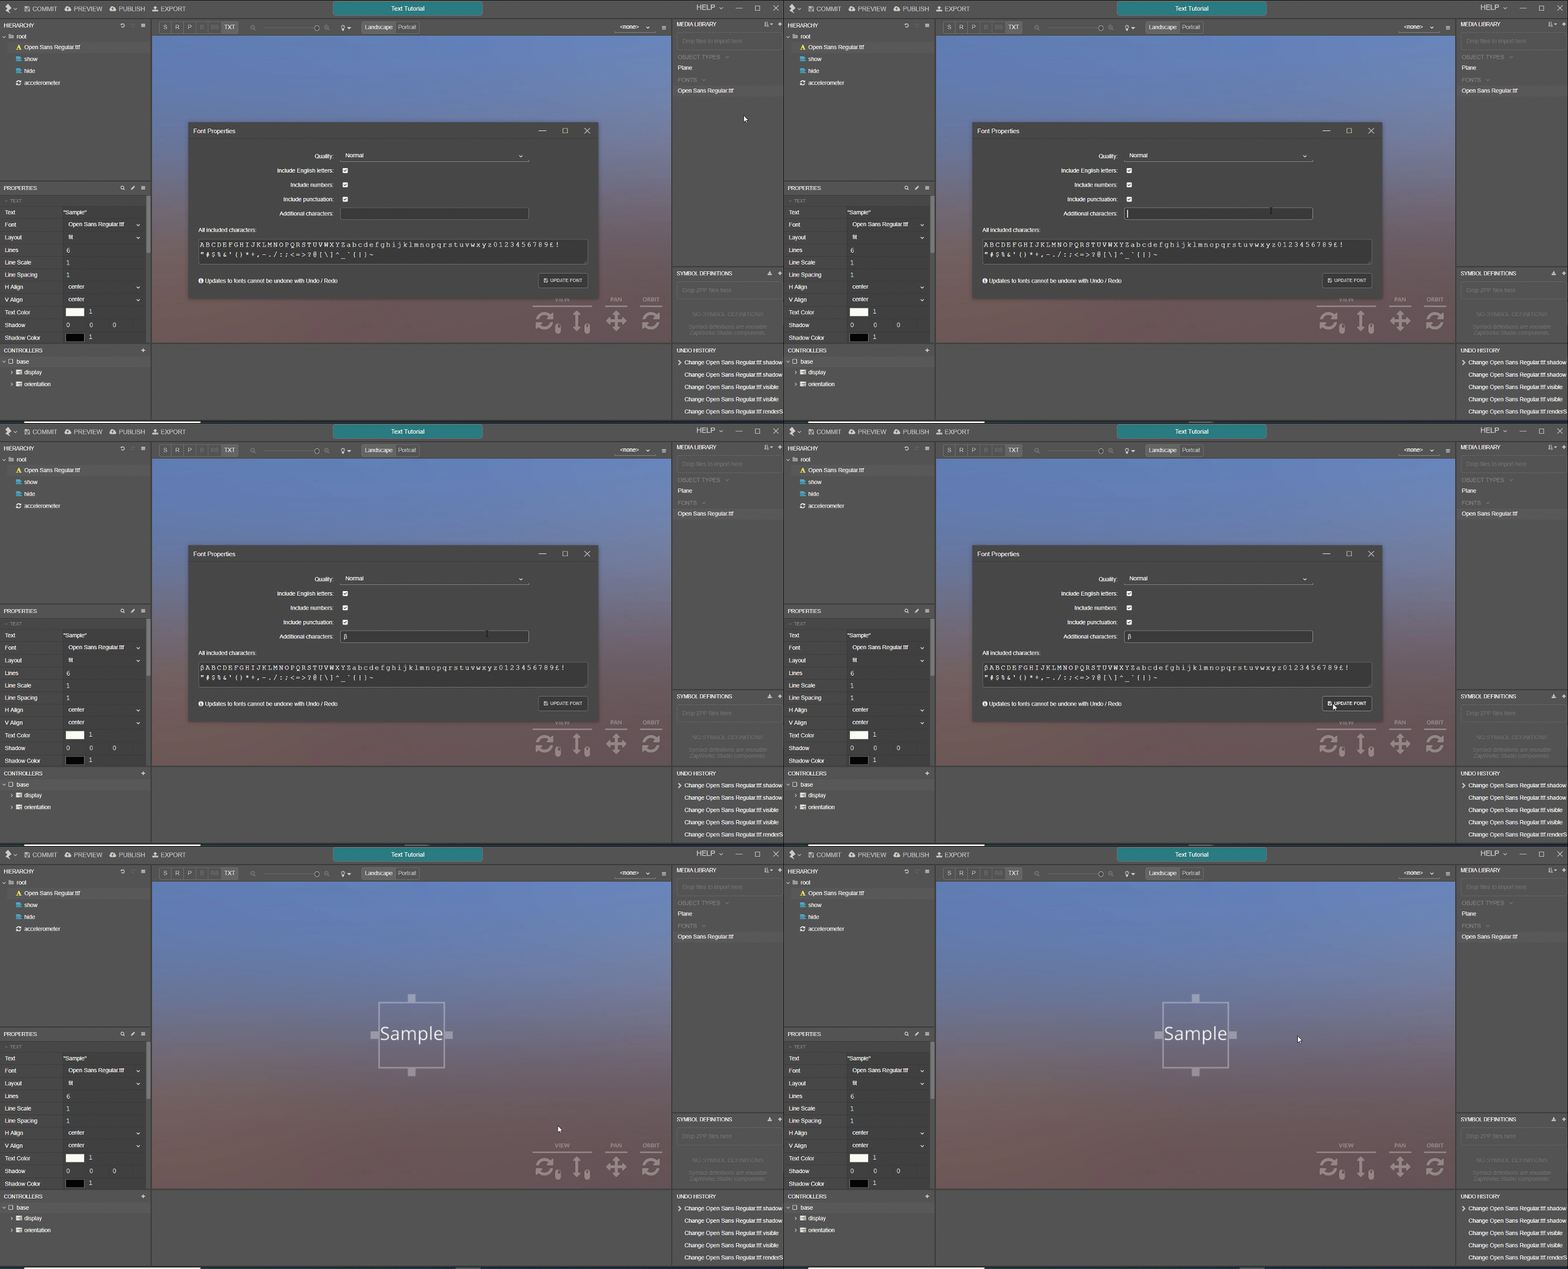
- Right click on the font that you wish to use in your media library, and select Properties.

- In the Additional Characters box, add the additional character you wish to use in your experience. When you have added all the characters you wish to include, select Update Font
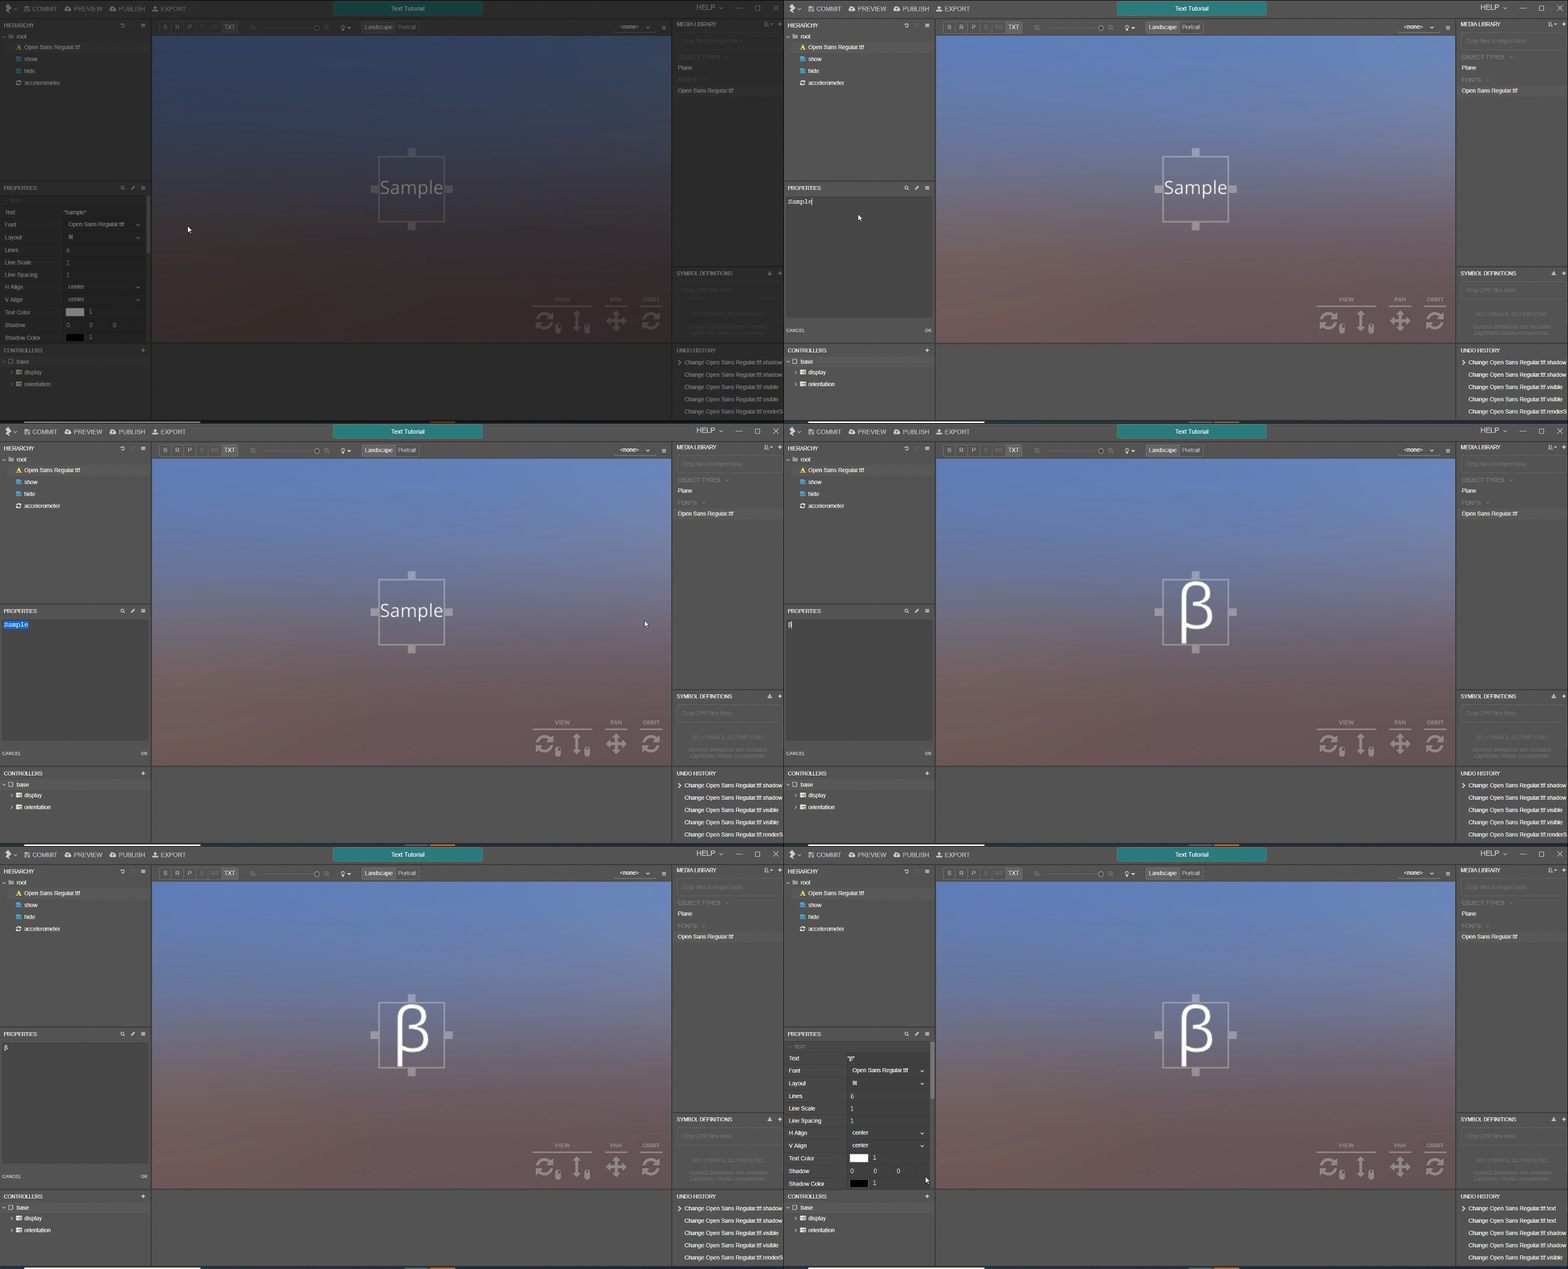
- You can now add the special character to your text through the Text tab of your font’s Properties.
Editing your Text with Scripting
As well as editing your properties through the ZapWorks Studio interface, you are able to edit your text’s properties through scripting. This proves especially useful if you want your text’s properties to be edited by the user during runtime.
This section will show you a basic example how to use a button and pointerdown script to edit the colour and content of your text. If you would like to edit other properties of your text through scripting, please follow our script reference.
- Add a button to your experience by importing it into your Media Library, then adding it to your root node.

- Right click on your button in the Hierarchy and select New → Script →
PointerDown. Then, drag you text into the script and select Insert Local Variable.
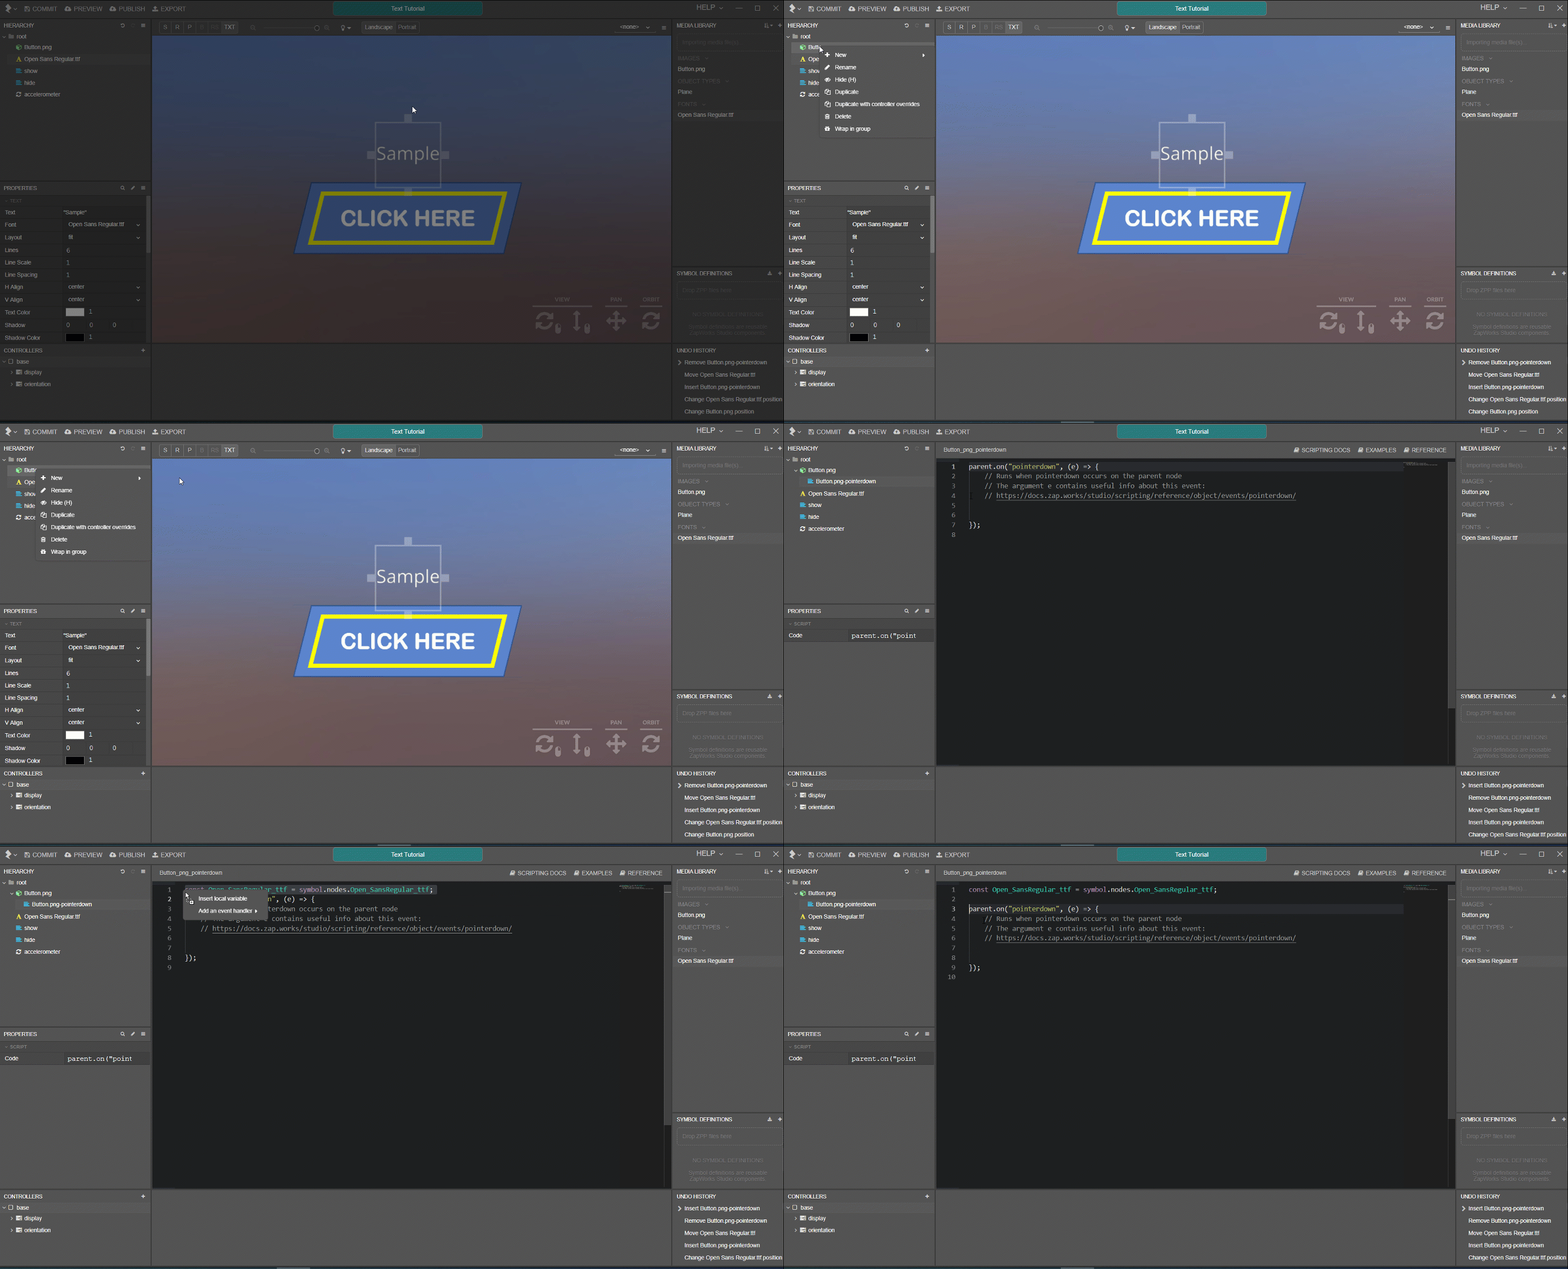
- In your
pointerdownscript, add the lineOpen.SansRegular_tff.textColor([255, 0, 0]);. This will now set the text to the colour red when the button is pressed.

- In your
pointerdownscript, add the lineOpen.SansRegular_tff.text("This text is red");. This will now change the text displayed when the button is pressed.

Preview / Publish your project
I hope this helps!
Please let us know on this thread if you have any issues importing and editing the properties of your text in ZapWorks Studio, we’ll be more than happy to help.
Adam
